Add custom items to the React Native dev menu
npm install @viper110490/react-native-dev-menujs
if (__DEV__) {
const DevMenu = require('react-native-dev-menu');
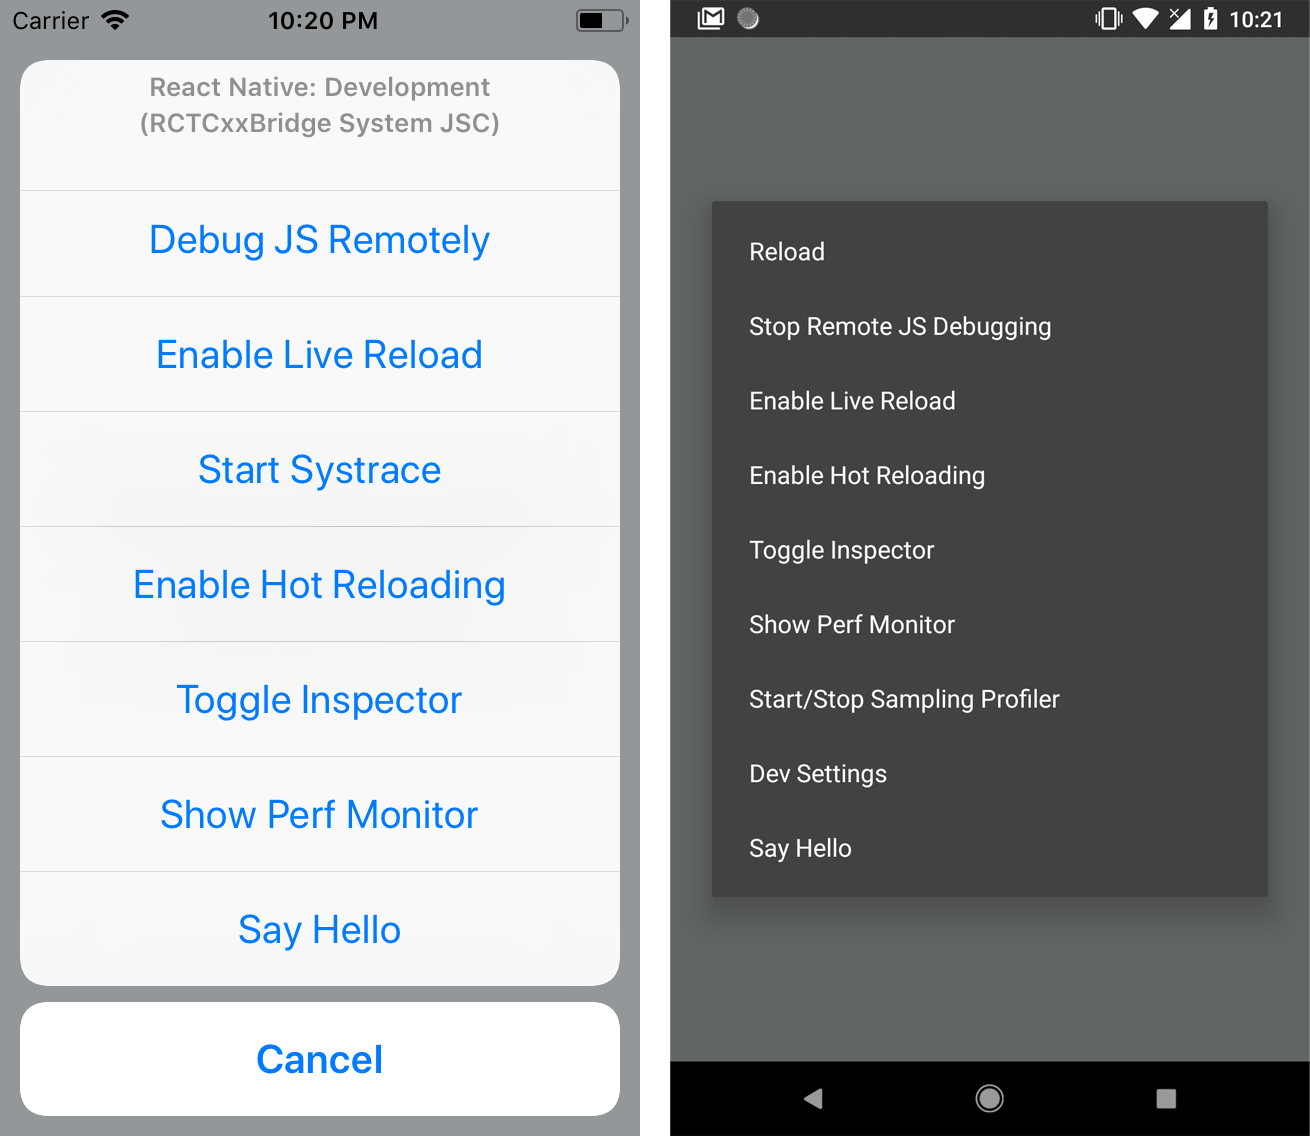
DevMenu.addItem('Say Hello', () => alert('Hello!'));
}
`
Screenshots
Setup
`bash
$ npm install --save react-native-dev-menu
--- or ---
$ yarn add react-native-dev-menu
`
Manual linking


If you use this package with React Native 0.60.0 or superior, you will probably don't need to link it. Otherwise if it still cannot be found, follow this steps to link it manually :
`bash
$ react-native link react-native-dev-menu
`
_NB: If you use a Cocoapods and have a Podfile, react-native link will only add this library as a dependency, and you'll need to run pod install._
$3
#### CocoaPods linking
After installing the npm package, add the following line to your Podfile :
`ruby
pod 'RNDevMenu', :path => '../node_modules/react-native-dev-menu'
`
`bash
$ pod install
`
#### Manual linking


1. In the XCode's "Project navigator", right click on your project's Libraries folder ➜
Add Files to <...>
2. Go to node_modules ➜ react-native-dev-menu ➜ select RNDevMenu.xcodeproj
3. Add libRNDevMenu.a to Build Phases -> Link Binary With Libraries
$3


#### Manual linking


After installing the package, add the following line to the
./android/settings.gradle file :
`gradle
include ':app', ':react-native-dev-menu'
project(':react-native-dev-menu').projectDir = new File(rootProject.projectDir, '../node_modules/react-native-dev-menu/android')
`
Include it as dependency in the ./android/app/build.gradle file :
`gradle
dependencies {
implementation project(':react-native-dev-menu')
// ...
}
`
Finally, you need to link the package to the ./android/app/src/main/java/…/MainApplication.java file :
`java
import com.zoontek.rndevmenu.RNDevMenuPackage;
// ...
@Override
protected List getPackages() {
return Arrays.asList(
new MainReactPackage(),
// ...
new RNDevMenuPackage(), // <-- Add it to the packages list
);
}
// ...
``