@builder.io/react
v0.1.118-0TypeScript
NOTE: If you want to register your React Server Components as custom components in Builder, you will need to use our experimental NextJS SDK [here](https://github.com/BuilderIO/builder/tree/main/packages/sdks/output/nextjs).
58.3K/weekUpdated 1 weeks agoMITUnpacked: 4.9 MB
Published by Steve Sewell
npm install @builder.io/reactBuilder.io React SDK
NOTE: If you want to register your React Server Components as custom components in Builder, you will need to use our experimental NextJS SDK here.
Integration
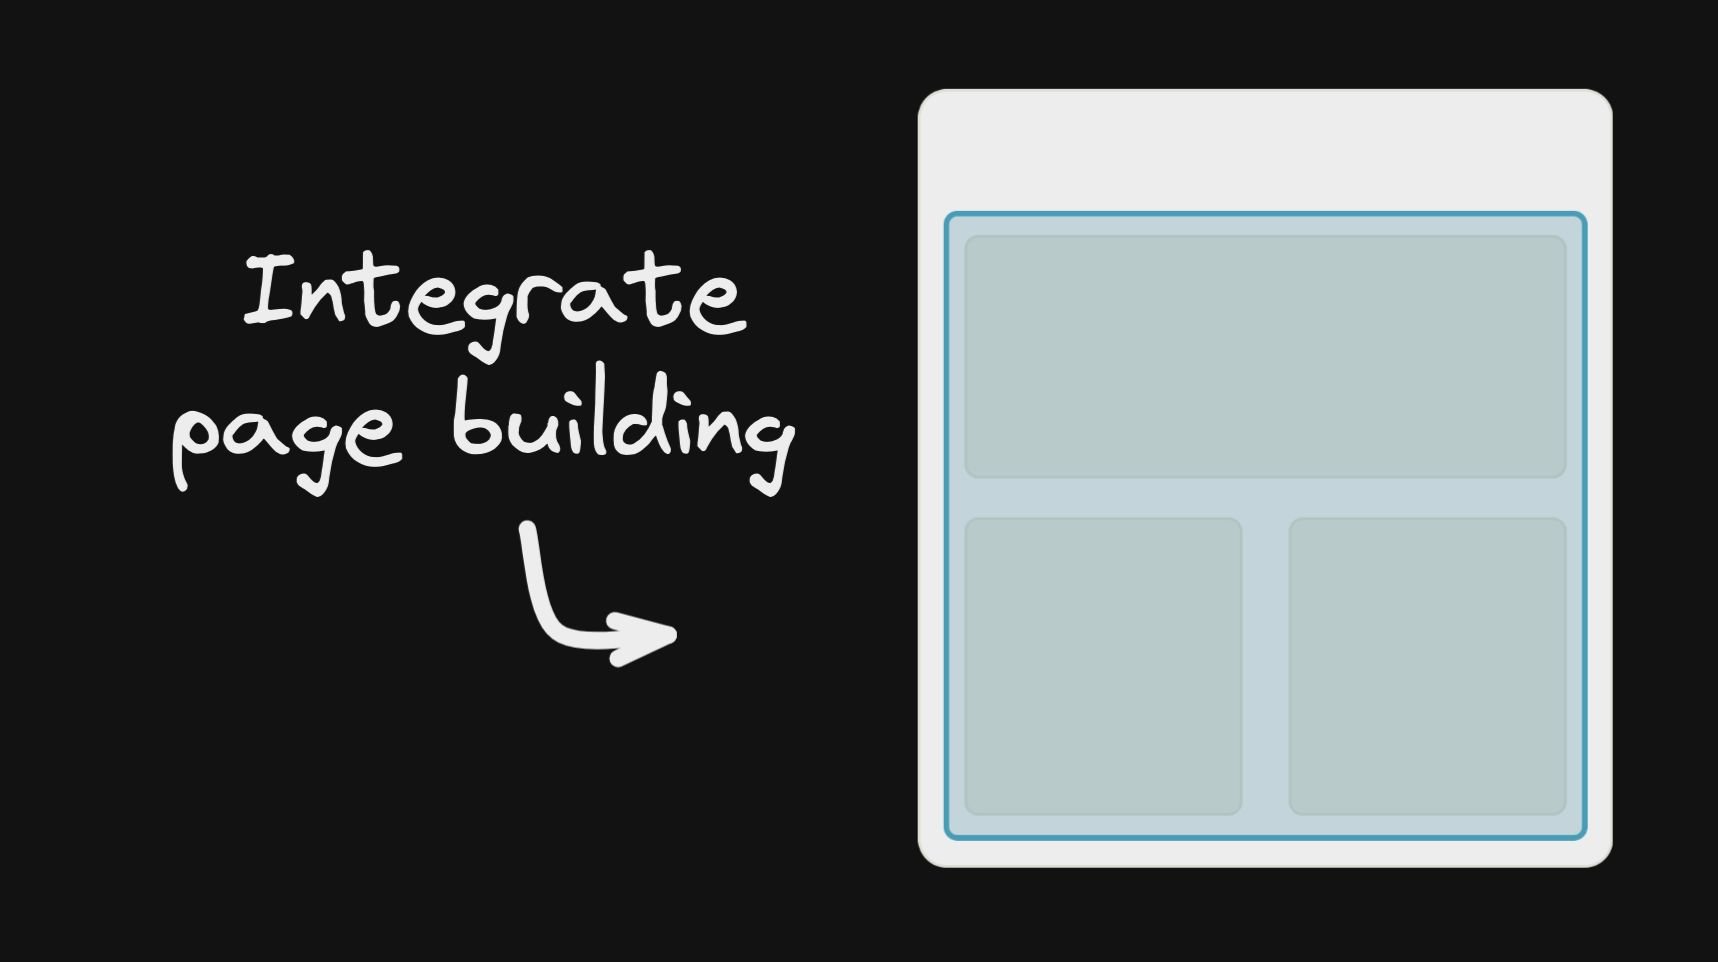
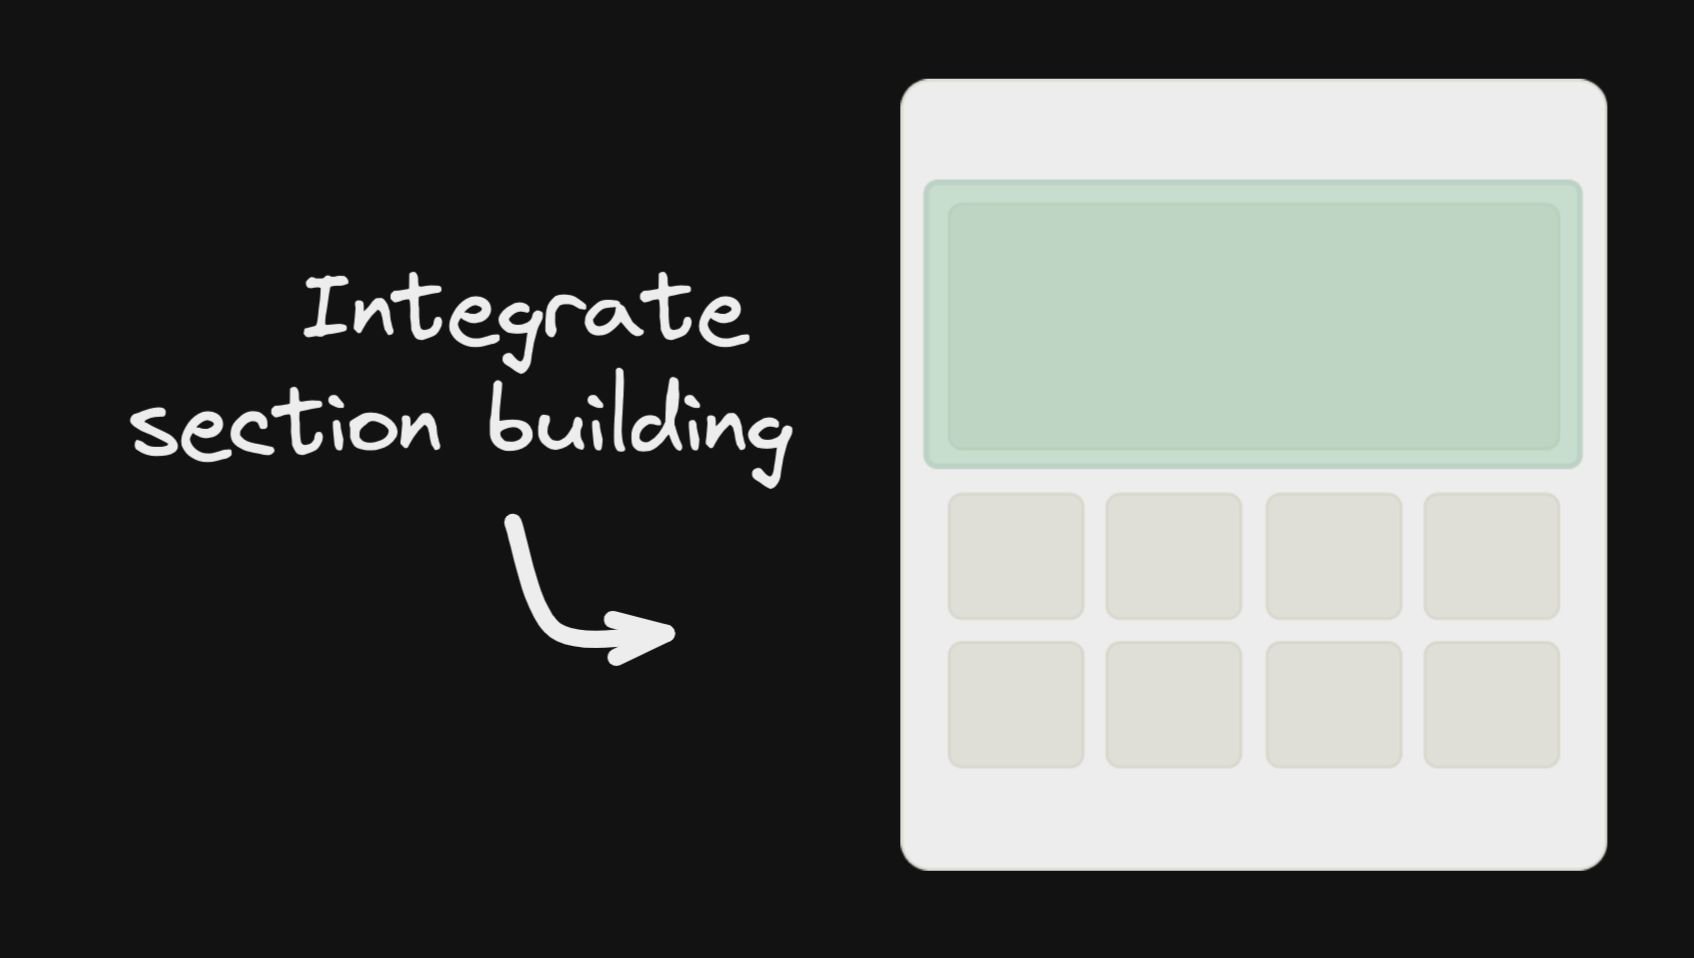
See our full getting started docs, or jump right into integration. We generally recommend to start with page building as your initial integration:
| Integrate Page Building | Integrate Section Building | Integrate CMS Data |
 |  |  |
React API
$3
The gist of using Builder, is fetching content (using queries on custom fields and targeting. Builder is structured like a traditional headless CMS where you can have different content types, called models. By default, every Builder space has a "page" model.
``tsx
import { builder } from '@builder.io/react'
const API_KEY = '...' // Your Builder public API key
const MODEL_NAME = 'page';
const content = await builder
.get(MODEL_NAME, {
// Optional custom query
query: {
'data.customField.$gt': 100,
},
// Optional custom targeting
userAttributes: {
urlPath: '/' // Most Builder content is targeted at least by the URL path
}
})
.promise()
// Later, pass the fetched content to the BuilderComponent
`
The builder content is simply json that you pass to a to render. Learn more about it here
You can view all of the options for builder.get for fetching content in our full reference here
For example, with Next.js, to render Builder as your homepage:
`tsx
export const getStaticProps = async () => {
return {
props: {
builderContent: await builder
.get('page', {
userAttributes: {
urlPath: '/', // Fetch content targeted to the homepage ("/" url)
},
})
.promise(),
},
};
};
export default function MyHomePage({ builderContent }) {
return (
<>
);
}
`
You can also allow dynamic page building (the ability to create new pages on new URLs dynamically). E.g. see this guide on how to do that
$3
One of Builder's most powerful features is registering your own components for use in the drag and drop editor.
You can choose to have these compliment the built-in components, or to be the only components allowed to be used
(e.g. via components-only mode)
`tsx
import { Builder } from '@builder.io/sdk-react';
function MyHero(props) {
/ Your own hero component in your codebase /
}
Builder.registerComponent(MyHero, {
name: 'Hero',
inputs: [
{ name: 'title', type: 'string' }, // Gets passed as the title prop to the Hero`
],
});
Learn more about registering components in Builder
$3
You can find the full reference docs for the BuilderComponent props here
`tsx
const MODEL_NAME = 'page';
// Render
`
See our guides for Gatsby and Next.js for guides on using with those frameworks
#### Passing data and functions down
You can also pass data and functions down to the Builder component to use in the UIs (e.g. bind
data values to UIs e.g. for text values or iterating over lists, and actions to trigger for instance on click of a button)
All data passed down is available in Builder actions and bindings as state.*, for instance in the below example state.products, etc will be available
`tsx`
data={{
products: productsList,
foo: 'bar',
}}
content={builderJson}
/>
You can also pass down functions, complex data like custom objects and libraries you can use context. Similar to React context, context passes all the way down (e.g. through symbols, etc). This data is not observed for changes and mutations
`tsx`
context={{
addToCart: () => myService.addToCart(currentProduct),
lodash: lodash,
}}
content={builderJson}
/>
Context is available in actions and bindings as context.*, such as context.lodash or context.myFunction() in the example above
#### Passing complex data
Everything passed down is available on the state object in data and actions - e.g. state.products[0].name
See more about using data passed down here
$3
The global Builder singleton has a number of uses. Most important is registering custom components.
`tsx
import * as React from 'react';
import SyntaxHighlighter from 'react-syntax-highlighter';
import { Builder } from '@builder.io/react';
class CodeBlockComponent extends React.Component {
render() {
return
}
}
Builder.registerComponent(CodeBlockComponent, {
name: 'Code Block',
inputs: [
{
name: 'code',
type: 'string',
defaultValue: 'const incr = num => num + 1',
},
{
name: 'language',
type: 'string',
defaultValue: 'javascript',
},
],
});
`
See our full guide on registering custom components here.
See the full reference docs for registerComponent options here.
$3
#### Usage with Data Models
Although you can already fetch data models from our Content API directly and use it as you would any other API resource, with a BuilderContent component you are able to use live Editing / Previewing / A/B testing of your Data Models within the Builder Visual Editor.
##### Example, setting up an editable theme:
`tsx`
If (loading) {
return
}
return <>
/pass values down to an example ThemeProvider, used as a wrapper in your application/
{props.children}
}}
Or an example fetching server side and passing the content using the content prop, e.g. in Next.js
`tsx
export const getStaticProps = async () => {
return {
props: {
builderDataContent: await builder.get('site-settings', / other options like queries and targeting /).promise()
}
}
}
export default function MyPage({ builderDataContent }) {
return
{/ ... more content ... /}
}
`
#### Usage with Page/Section Custom Fields
Page and section models in builder can be extended with custom fields. To enable live editing / previewing on components that uses those custom fields, you can use BuilderContent to pass input data from the model to your components that are outside the rendered content
##### Example, passing Custom Field input:
`tsx`
{data => {
/use your data here within your custom component/
return (
<>
);
}}
#### Passing content manually
This is useful for doing server side rendering, e.g. with Gatsby and Next.js or via
loading data from other sources than our default APIs, such as data in your own database saved via webhooks
`tsx`
const content = await builder.get(‘your-data-model’, { ...options });
if (content) {
/use your data here/
return
}
#### Advanced querying
When using custom models and fields you can do more advanced filtering of your content with queries>)
and targeting
`tsx
import { BuilderContent, builder } from '@builder.io/react';
builder.setUserAttributes({ isLoggedIn: false })
export default () =>
options={{ query: { 'data.something.$in': ['value a', 'value b'] } }} />
`
$3
The React SDK exports the core SDK's builder object, which can be used for setting things like
your API key and user attributes
tsx
import { builder } from '@builder.io/react';builder.init(YOUR_KEY);
// Optional custom targeting
builder.setUserAttributes({
userIsLoggedIn: true,
whateverKey: 'whatever value',
});
`#### Lite version
NOTE: If you want a zero-dependencies, fast and small Builder SDK for React, we strongly encourage you to try out our Gen 2 React SDK. You can find it here.
This SDK has a lite version where it provides only the bare minimum of components needed to render your Builder content, it won't have any built-in components registered by default, this option should work with custom components. The main difference is that you need to specifically add any built-in components you want to use or they won’t show up.
To use the lite package, you change all your imports from
to @builder/react/lite and then import only the built-in components that you want to use:`ts
// Change all imports from '@builder.io/react' to '@builder.io/react/lite'
import { BuilderComponent } from '@builder.io/react/lite';// Import only what built-in components you like to use
import '@builder.io/react/dist/lib/src/blocks/Button';
import '@builder.io/react/dist/lib/src/blocks/Columns';
`$3
For using API Version
, you need to pass apiVersion as "v3" in the init function. For example:`js
import { builder } from '@builder.io/react';// First, initialize the SDK with your API key
builder.init('YOUR_API_KEY_GOES_HERE');
// Then, set the API version to v3
builder.apiVersion = 'v3';
`#### Reasons to switch to API Version v3
- Better, more scalable infra: Query v3 is built on global scale infrastructure to ensure fast response times and high availability
- Ability to ship more features, faster: Query V3 will allow us to keep shipping the latest features to our customers without breaking fundamental flows. These will be shipped only to Query V3 and not to the older versions of the query API
_Coming soon..._
- Better support for localization: Some of the newer features of localization and querying based on it will be better supported in Query V3
- Support multi-level nested references: Query V3 will allow you to query, resolve, and return content that has nested references of other contents and symbols.
Node v20 + M1 Macs (Apple Silicon) Support
The SDKs rely on
, a library to securely execute code on a Node server. There is a compatibility issue for that library when running on Node v20 and M1 Macs. To workaround this issue, you must provide NODE_OPTIONS=--no-node-snapshot to the command that runs your server.If you do not provide this flag, the SDK will skip using
isolated-vm`. This will only occur on Apple Silicon machines that are running Node v20.For more information, see this issue.